Why cleaning your dryer vent matters (and how to do it)
Did you know that cleaning your dryer vent isn't just about better performance—it's also about keeping your home safe? Over time, lint and debris can build up in your dryer vent, making your dryer work harder, increasing your energy bill, and—more importantly—posing a serious fire risk. In fact, thousands of house fires each year are caused by clogged dryer vents. But the good news? Keeping your dryer vent clean is simple and can save you time, money, and worry.
5 simple steps to clean your dryer vent
You can do this yourself, or hire a professional—either way, regular cleaning is key! Here’s how to DIY it:
Unplug the Dryer — Safety first! Disconnect your dryer from the power source (and turn off the gas if it’s a gas dryer).
Pull the Dryer Away From the Wall — Gently slide it out to access the vent at the back.
Disconnect the Vent Hose — Loosen the clamp and remove the vent hose from the back of the dryer and the wall.
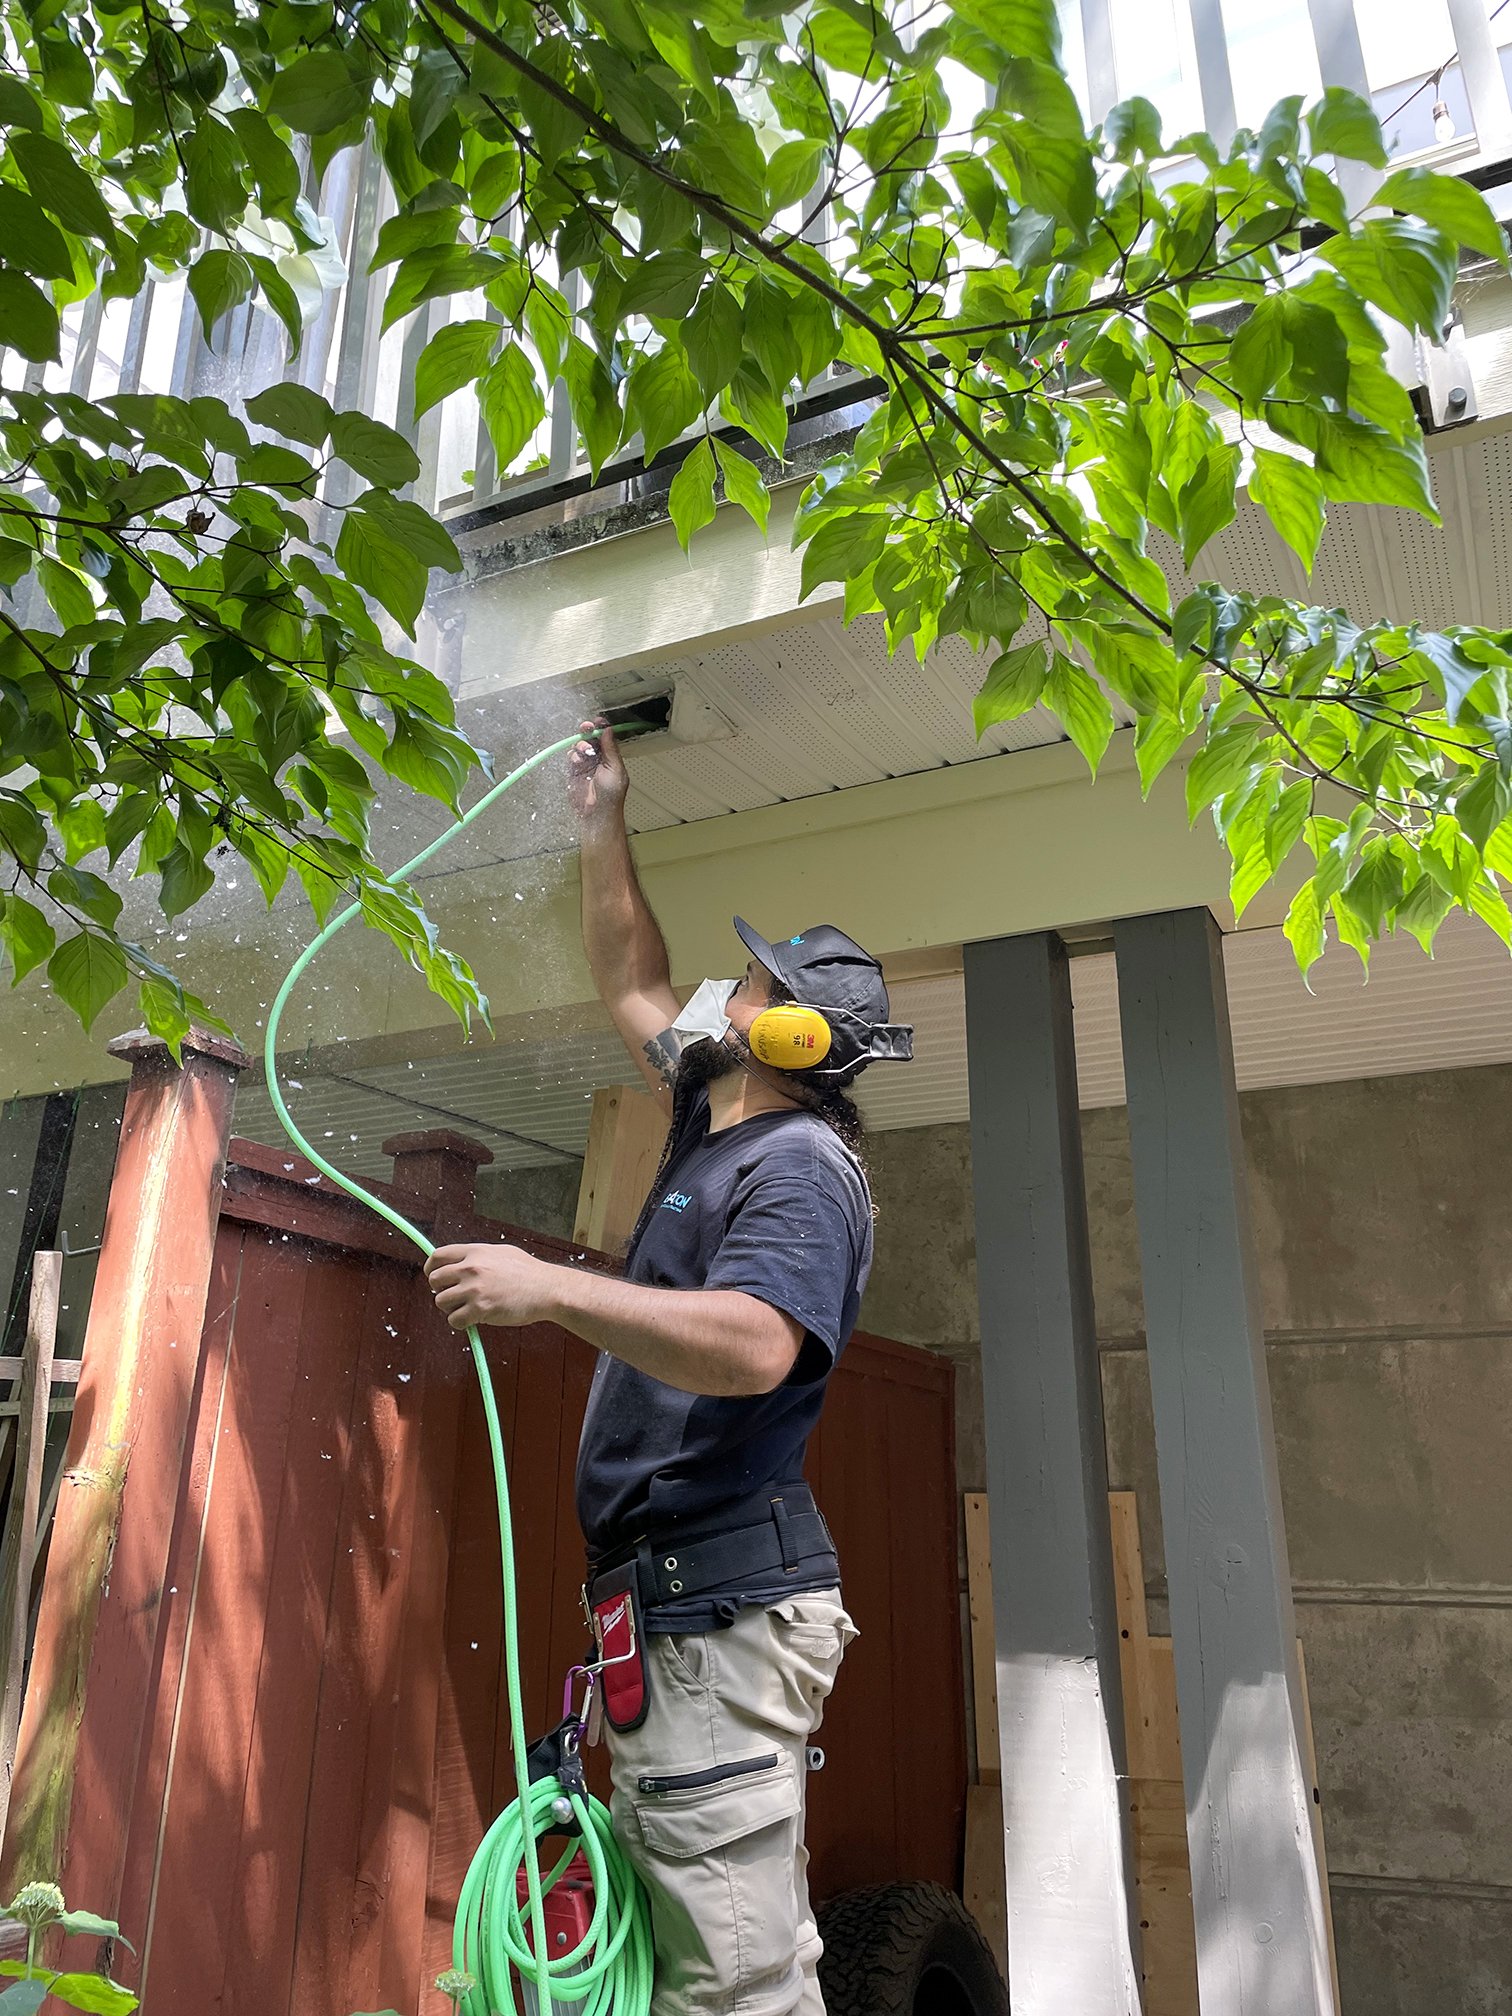
Clean the Vent — Use a vacuum or dryer vent cleaning brush to remove lint from the hose and inside the wall vent. Don’t forget the outside vent cover too!
Reconnect Everything & Test — Reattach the hose, push your dryer back into place, and plug it back in. Run a short cycle to make sure air is flowing freely.
How often should you clean it?
• Every 6 to 12 months is a good rule of thumb.
• If you do a lot of laundry, or notice clothes taking longer to dry, clean it more often.
Not handy? We’ve got you!
If DIY isn’t your thing, we’re happy to help. Our professional dryer vent cleaning service will give you peace of mind. Reach out today to schedule an appointment in Squamish or Whistler!